
PixelSqueeze quickstart
Select layers, pick a format and quality, export. Everything in this guide is free.
Install the plugin
- Open PixelSqueeze on the Figma Community and click Install.
- Open any Figma or FigJam file.
- Run it from Plugins → PixelSqueeze, or press Cmd/Ctrl + / and type "PixelSqueeze".
Your first export
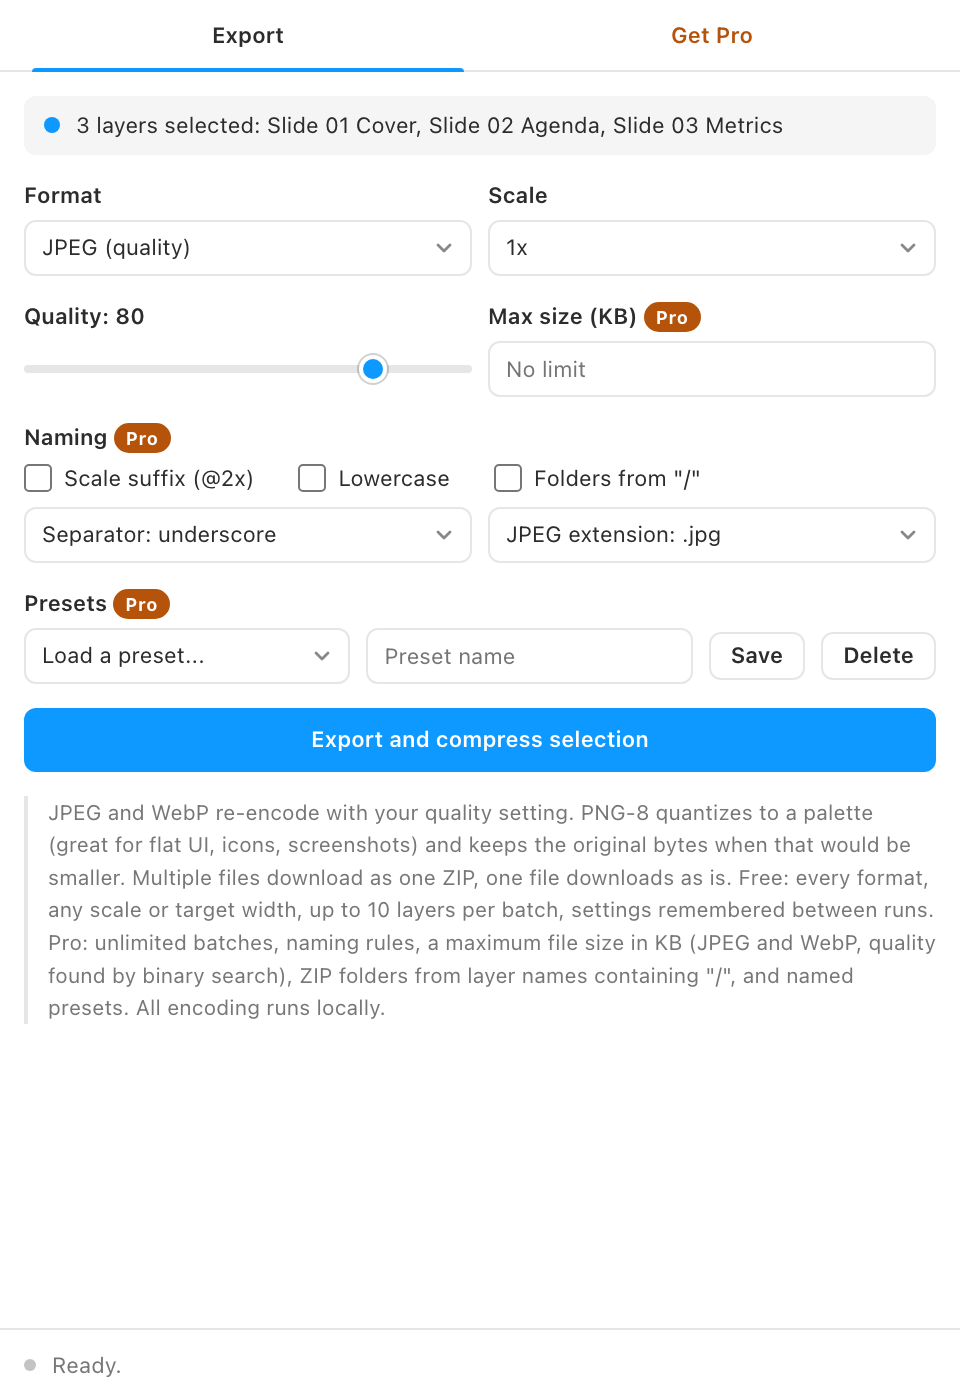
- Select the layers you want as files: frames, groups, images, anything exportable. The first line in the plugin lists what is selected. Up to 10 layers per batch are free.
- Pick a format. JPEG for photos, WebP for the web, PNG-8 for flat interfaces and icons, PNG for lossless with alpha.
- Pick a scale. 1x exports at design size; 2x and 3x for high-density screens; 0.5x for thumbnails. Choose Custom factor or Target width for anything else.
- Set quality. JPEG and WebP take a quality from 1 to 100 (80 is a good default). PNG-8 takes a palette size from 16 to 256 colors plus dithering.
- Click Export and compress selection.
One file downloads directly under its layer name. Several files arrive as a single ZIP, and the list shows every file's size before and after and the percentage saved.