
SpecMark quickstart
Select a layer, click a redline, hand off. Size, padding and gap, and distance redlines are free, so you can try them on a real file before you pay anything.
Install the plugin
When SpecMark is published, open it on the Figma Community and click Install. Until then it is not yet available.
Once installed:
- Open any Figma design file.
- Run it from Plugins > SpecMark, or press Cmd/Ctrl + / and type "SpecMark".
Your first redlines
- Select an auto layout frame, for example a card or a button. The first line of the plugin names the selection and says "auto layout" when it has it.
- Click Size. Width and height lines appear above and to the right of the frame.
- Click Padding and gap. The four paddings and the spacing between items appear as tinted bands with their values.
- Select two layers and click Distance to see the gap between them.
- Change the design, then click Update all to measure every redline again.
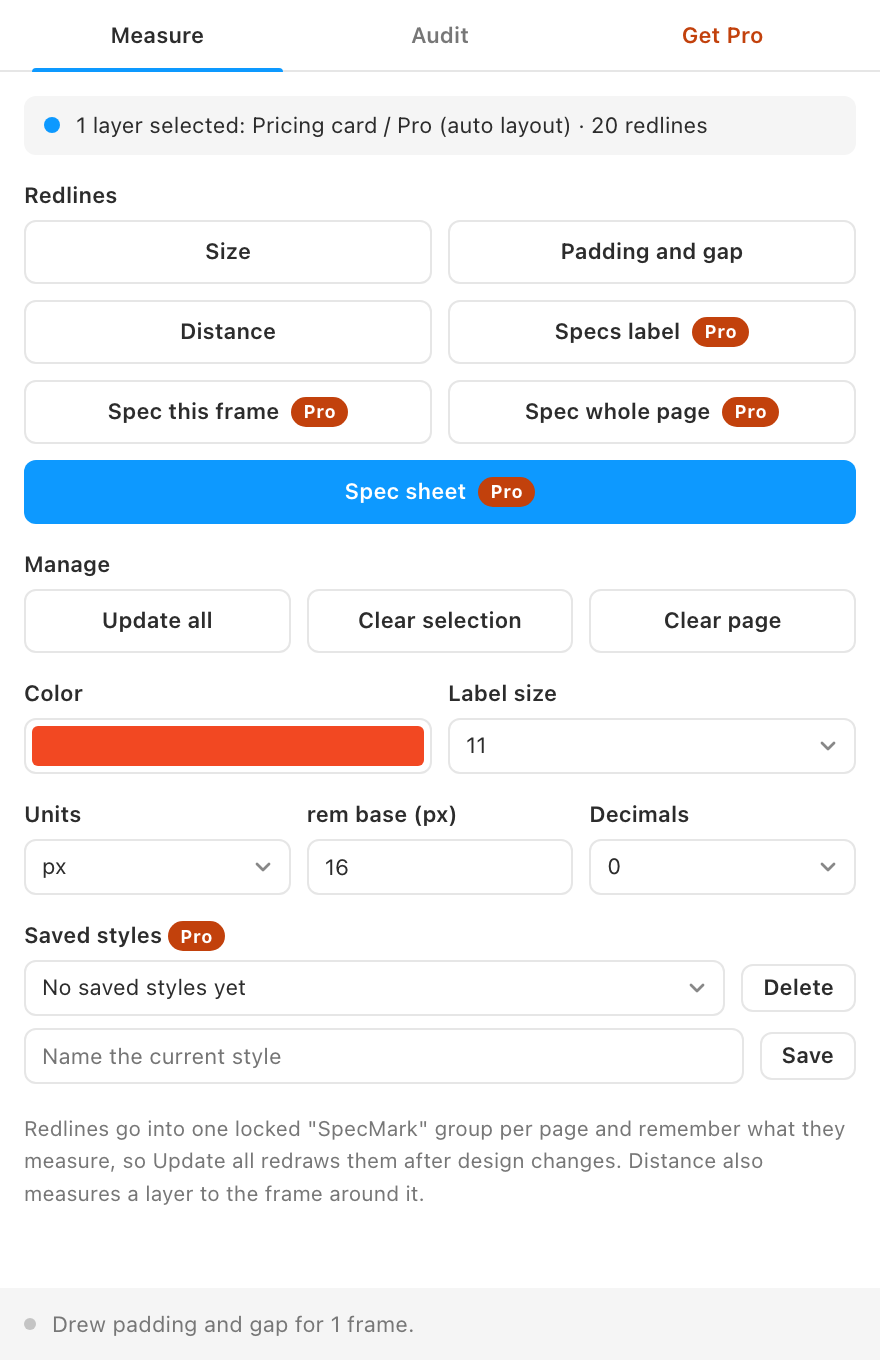
All redlines go into a locked group named "SpecMark" at the top of the page's layers. To start over, click Clear page.